

Setting Up Your Chromebook: First Login
Video transcript
Hello and thank you for joining me today on your first Chromebook login with PrepNet Virtual Academy. My name is Josh Marsh and I am your technology administrator. I will be assisting you with any questions you might have regarding your new Chromebook.
So let's start with step number one. Hopefully by now you have received your Chromebook, taken it out of the packaging, and plugged it into a power outlet. Open up the lid and let's make sure it powers on.
After you have verified that your computer turns on, you will want to gather your internet information. PrepNet Virtual Academy requires you to have internet service. You will need the Wi-Fi network name and password in order to log in to your network. You will find the network name listed in this section. As soon as you find it, go ahead and enter the information.
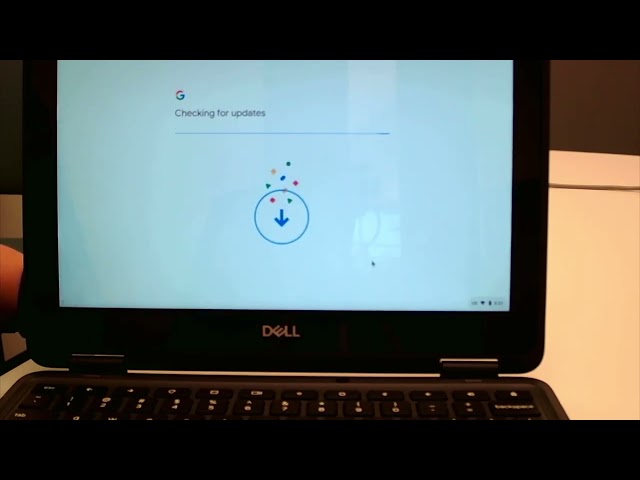
Once you have connected to your internet service, you will be greeted by this series of screens. Go ahead and accept and continue, and you will land at this sign-on page.
Once you have completed step three, you will be greeted by the login page. Students using an NHA login, meaning a username and password, will get their information through the mail. Students using a Clever badge will also receive their badge in the mail. Once you have entered your username and password, click sign in.
Once you have logged in, you will land on the Clever portal page. For those of you joining us online, you will need to look for the Google Meet icon. Once you have found it, click on it and you will be sent to the Google sign-on page. You will need to enter the code given to you by email, which is composed of letters. Once you are ready to join, click join.
And that wraps it up for your first Chromebook login. Remember, if you have any issues or questions, please reach out to us.